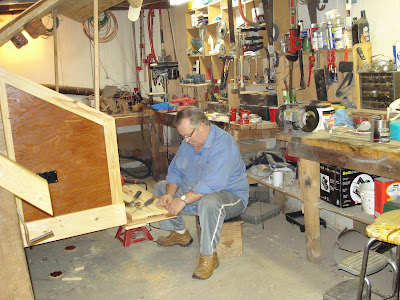
 Tacked both trim pieces together ,used a belt sander to sand the edges smooth and flat, to get the same arch on both pieces sanded both sides smooth now will router the edges to match the rest of the trim on the camper , then cut to length and fit in place . I HOPE !! ha ha !!!!!!
Saturday, March 29, 2008
FENDER TRIM
 Tacked both trim pieces together ,used a belt sander to sand the edges smooth and flat, to get the same arch on both pieces sanded both sides smooth now will router the edges to match the rest of the trim on the camper , then cut to length and fit in place . I HOPE !! ha ha !!!!!!
ROUGH TRIM
Friday, March 28, 2008
EXTRA HELP !! / WINDOW HINGE
Friday, March 21, 2008
CHECKING TO SEE HOW DOOR LOOKS
CURTAIN ROD / ROD BRACKETS
Wednesday, March 19, 2008
WINDOW INSTALLED/TINTED
Sunday, March 16, 2008
TEARDROP CAMPER WINDOW
TINTING CAMPER WINDOW
Friday, March 14, 2008
Wednesday, March 12, 2008
DOOR SKINNED/TRIAL FIT
Sunday, March 9, 2008
Saturday, March 8, 2008
FRONT TRIM
Friday, March 7, 2008
TAIL LIGHTS
Monday, March 3, 2008
FITTING THE TRIM
Sunday, March 2, 2008
Over All View Of Galley
Galley Trunk Lid
Saturday, March 1, 2008
Wide Trim /Bottom
The wide trim board on the bottom will blend in with the running boards when finished.The running boards will be stained to match the sides and trim . Notched for the door and routered on the edge for a better look .They a re a little thicker than the side mouldingfor a different look and came out better than I thought.The wide bottom trim idea came from a teardrop I came across on the internet , when finished looked quite good .
Stain /Trim
Another coat of stain was appiled to the main body ,built the air vent cover, its sitting on the top not in place yet but will get there.Started the pine trim ,wide bumper board not on tail gate , that is next .Soon ready for the trunk and tailate handles, not sure what type yet .
Subscribe to:
Posts (Atom)


